Add the Website Chat Widget to Your Site
Put a text-based AI chat box on your website so visitors can get answers, ask questions, and be sent a booking link — 24/7.
The Chat Widget is one of two website widgets Yobi offers (the other is the voice widget). It adds a text chat box to your site, powered by one of your AI agents. Setup is a one-time copy-and-paste of a script, plus linking the agent that should answer.
Setup Instructions
First, Open the Chat Widget Settings
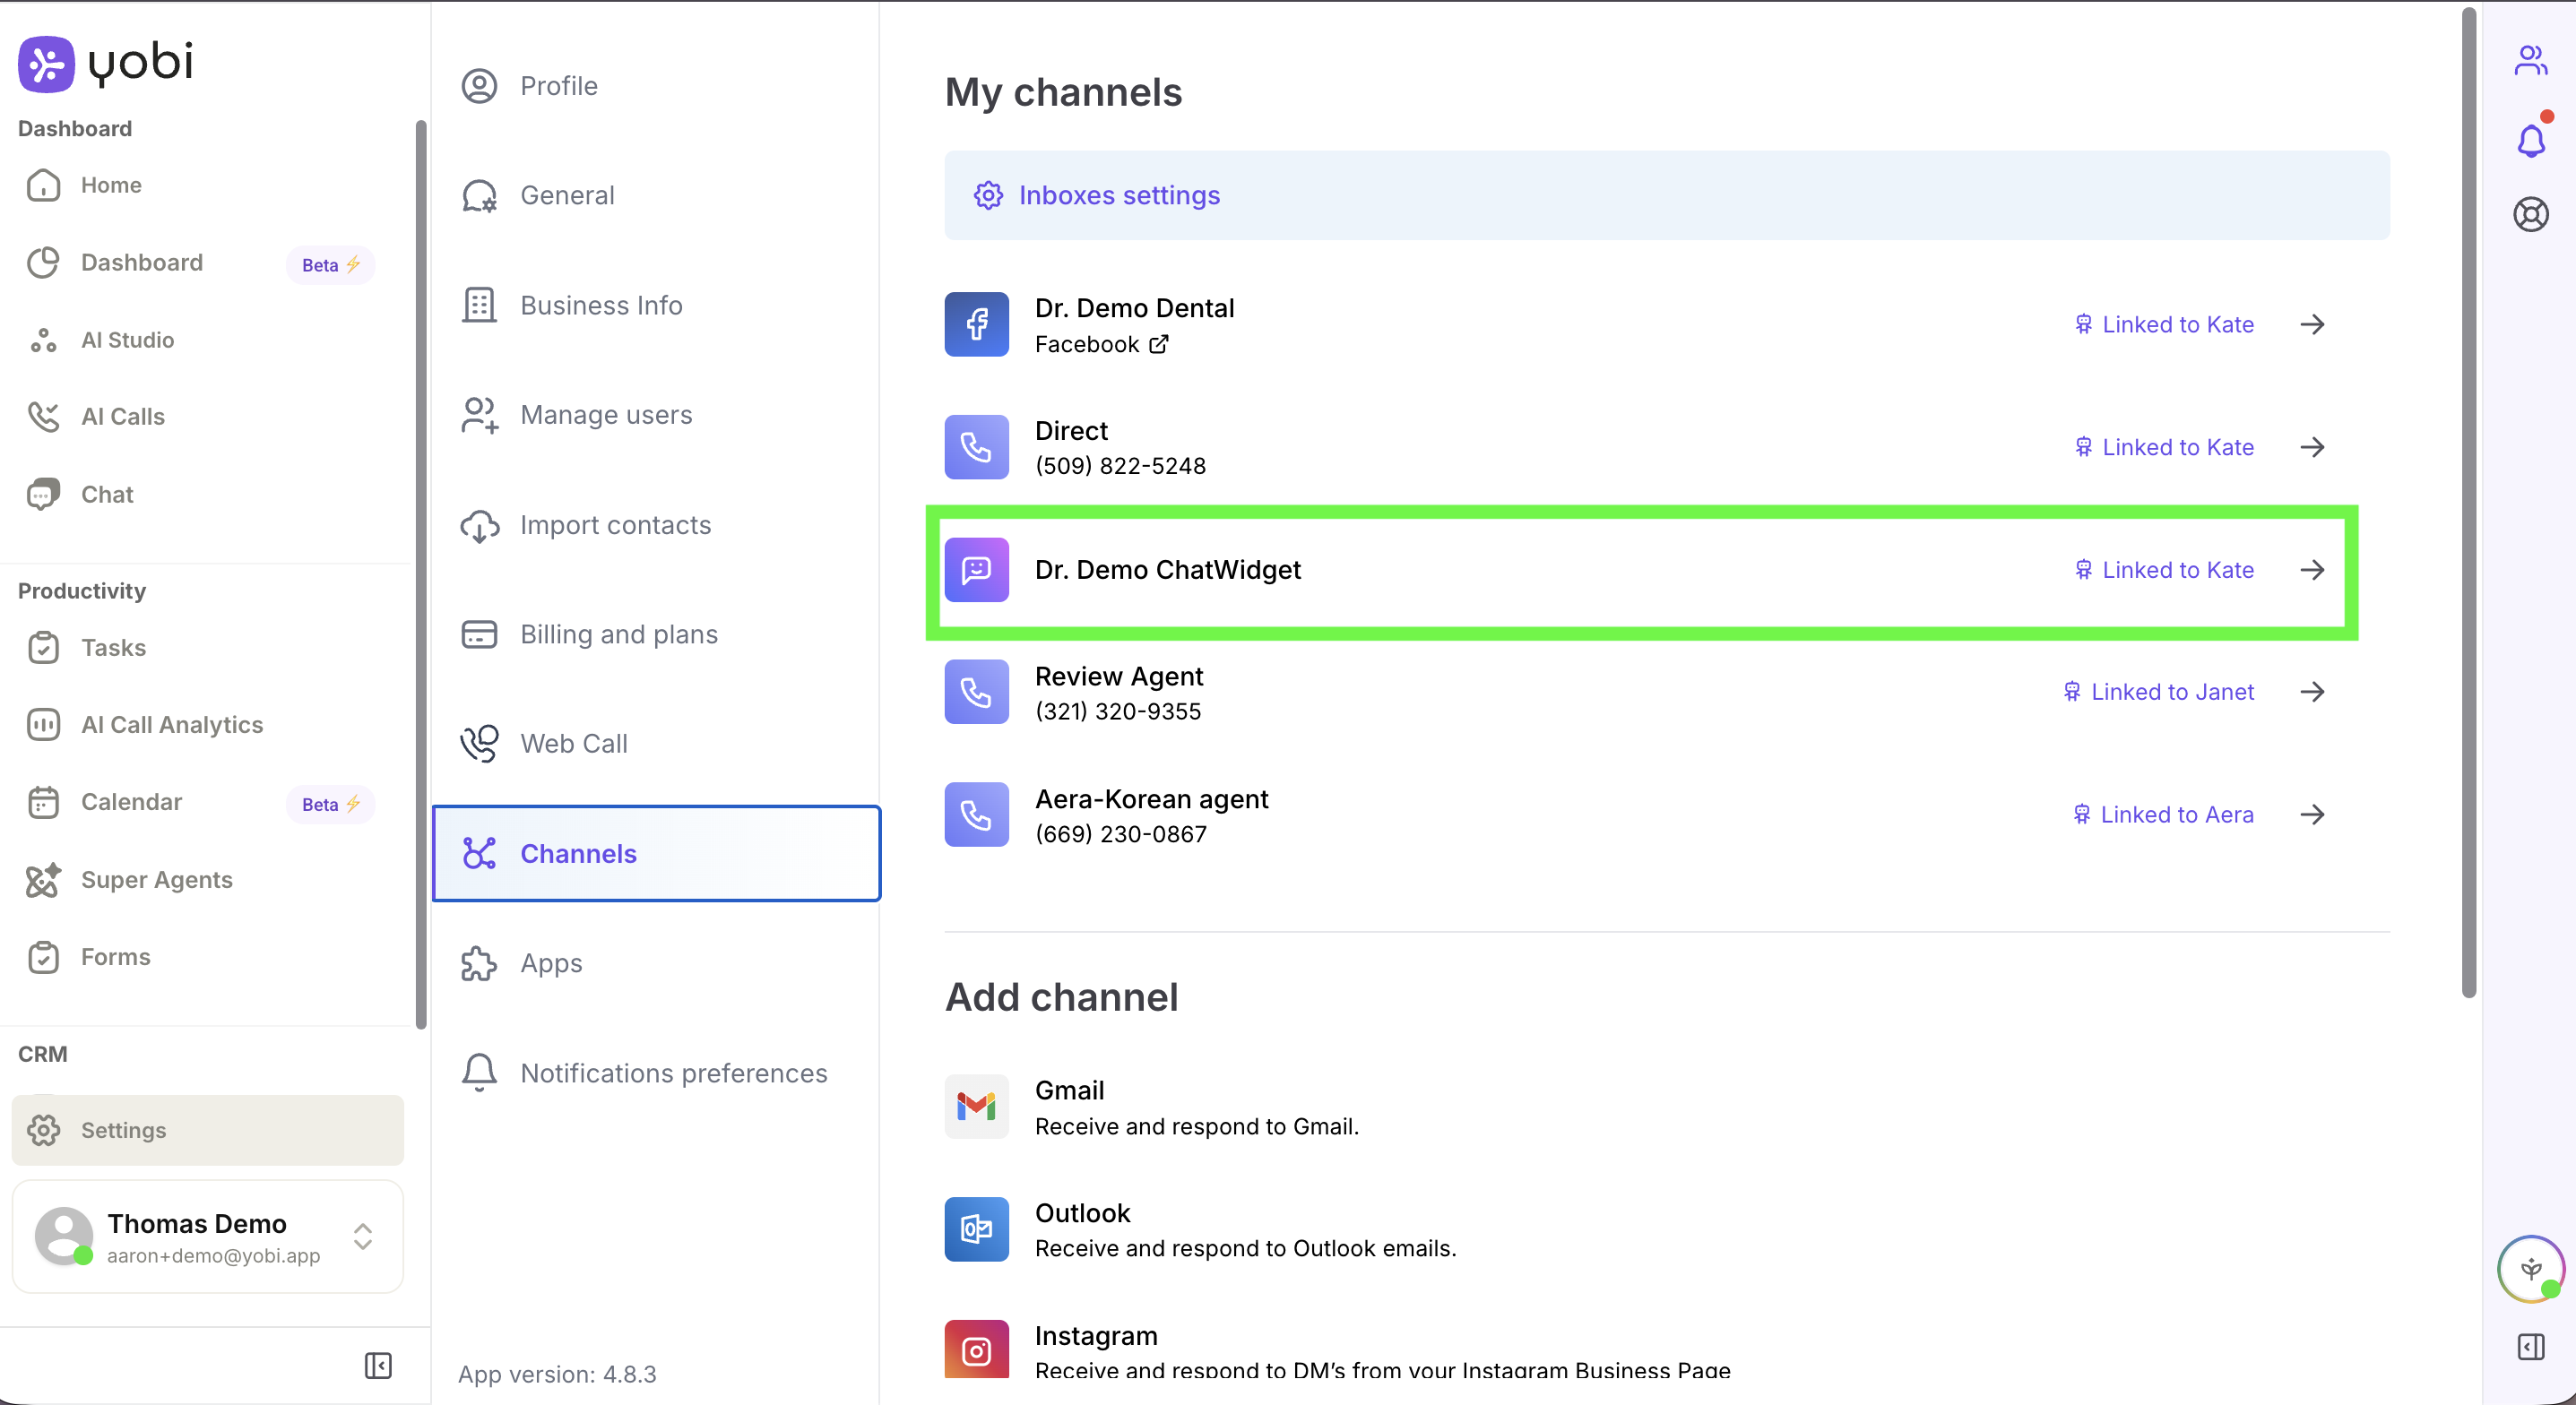
In the Yobi web app, go to Settings → Channels, then open your ChatWidget.
-
1
Open Settings → Channels
From the Yobi web app, go to Settings, then Channels. Under "My channels," find your ChatWidget (e.g. "Dr. Demo ChatWidget") and open it with the arrow.
-
2
Style your widget
Customize the colors and some of the on-widget text so it matches your brand. Once styled, the Copy Code button becomes available.
-
3
Copy the script
Click Copy Code to copy the chat widget script that's unique to your account.
-
4
Add the script to your website
Paste the script into your website (before the closing </body> tag), or send it to your website provider to add for you.
-
5
Link your agent to the widget
Make sure the ChatWidget shows "Linked to [your agent]" in the channels list (you can also link it from the agent's Config screen in AI Studio). The widget will not reply until an agent is linked.
-
Settings → Channels → your ChatWidget channel ("Linked to …")
Important Considerations
Link an Agent First
The chat widget only handles conversations once you've linked an AI agent to it. You can use an existing agent (such as an after-hours agent) or create one specifically for chat.
Email Is Currently Required
The chat widget currently requires visitors to provide an email address to start a conversation.
It Sends Links, It Doesn't Book Directly
The chat widget handles the conversation and can send your online booking link — it does not write appointments directly into your practice management software.